[EDU] Colored gels
Colored gels can be used to create very interesting effects. Most often, they are used to create oligochromatic pictures. This is something in the middle between a black and white and a color picture. Some people think this look is obtained in post-processing, but you actually need to gel the lights to get this (at least, this is the easiest way to do it). All the images below have very minimal postprocessing, in some the saturation has been increased a little however.
My first attempt at this was a long time ago, in the shower cabin of my apartment. Here I used two bare speedlights, gelled with blue and red filters. You can see one of the shots below.
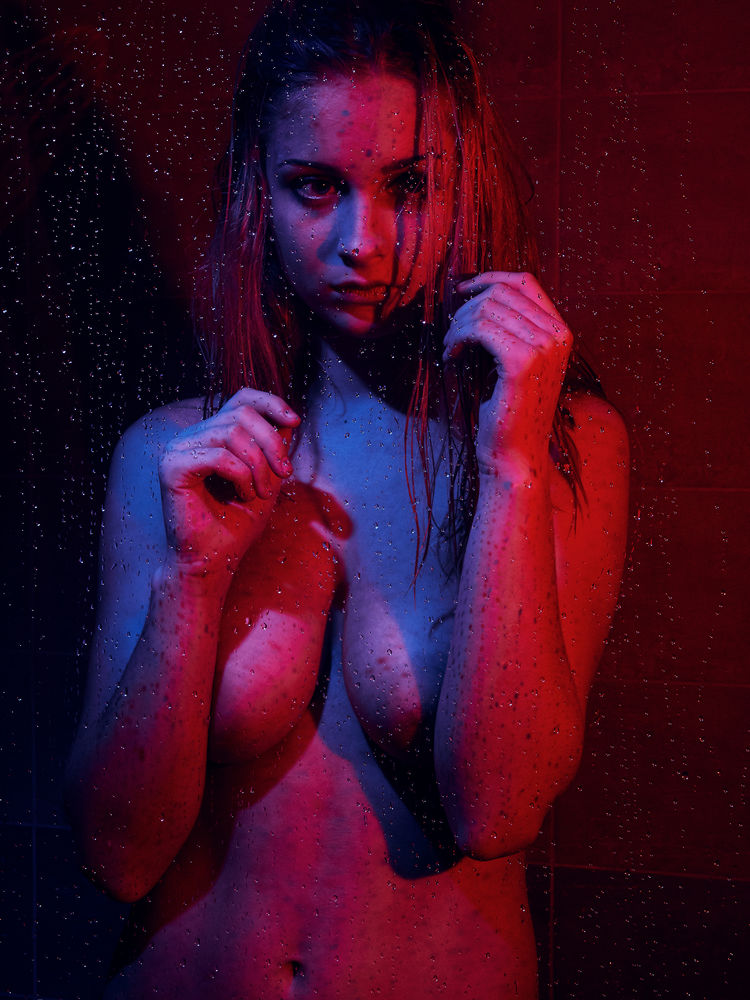
Now, this is nice, because a picture of Mary Braun cannot look bad by definition. However the very hard shadows created by the unmodified speedlight are questionable.
A few words about the choice of colors, which might be obvious to many of you. Choosing complementary colors in the RGB or CYMK color space usually gives the best looking combinations. This means Red-Blue, Green-Magenta, Blue-Gold (the orange filter in your kit creates pretty much a golden effect) are the way to go. But feel free to experiment any combination you like.
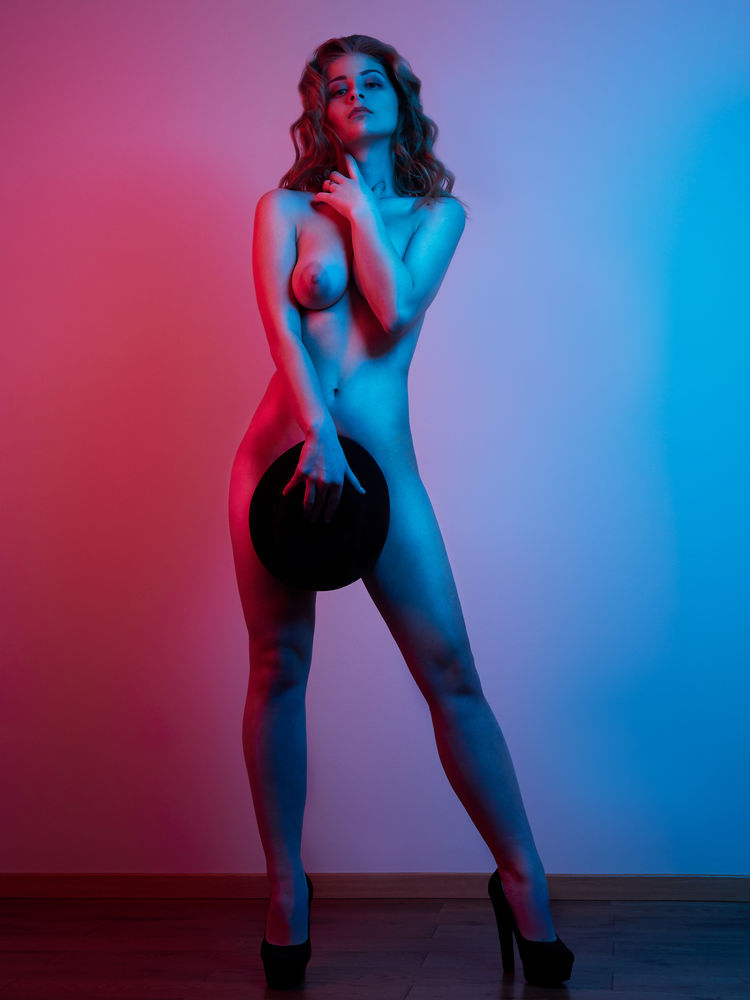
Then this year we again with Mary to shoot some more oligochromatic images. This time I used a 80cm umbrella Octagon on the blue side and a 90x120 softbox on the red one.
In the first picture the octabox is the key light, creating the typical rembrandt triangle on the model’s face. This key light has been placed above the eye level and is angled towards the model’s face. It is also about half a stop stronger than the fill light, which is behind the model. The result is very satisfying.

In this second pictures the lights were placed on the sides of the model, giving split lighting. As you can see the face is half blue and half red. The sharp transition is visible especially on the nose, whereas on the forehead this is more gradual.
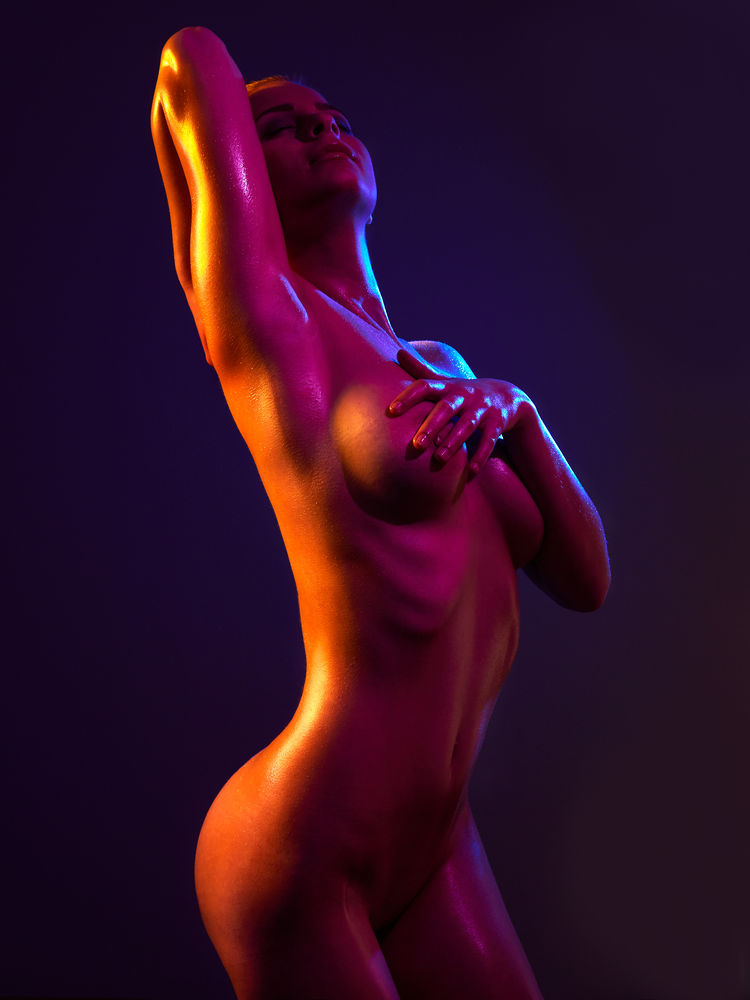
After about a couple of weeks, Mary had an idea. What if try 3 colors? Of course! The combination we chose is Gold-Blue-Magenta which gives very pleasing results. The placement of light here is quite different from the ones above. The gold and blue lights are modified by a DIY snoot (chips tube) while the magenta one is a bare flash, because we wanted the hard shadows to carve her shapes.
The magenta light is the main light and is placed in front of the model (on the right of the frame), coming from above at about a 45 degrees angle. The gold light is placed behind the model (on the left side of the frame) and light the model’s back, wrapping around her body and arm just enough to draw her shapes. Finally the blue light comes from the back of the stage and works as a rim light, but also tints the background. The beautiful highlights on the model, especially visible on the gold side are created by oiling her with vaseline oil from the pharmacy. We all really loved the result.
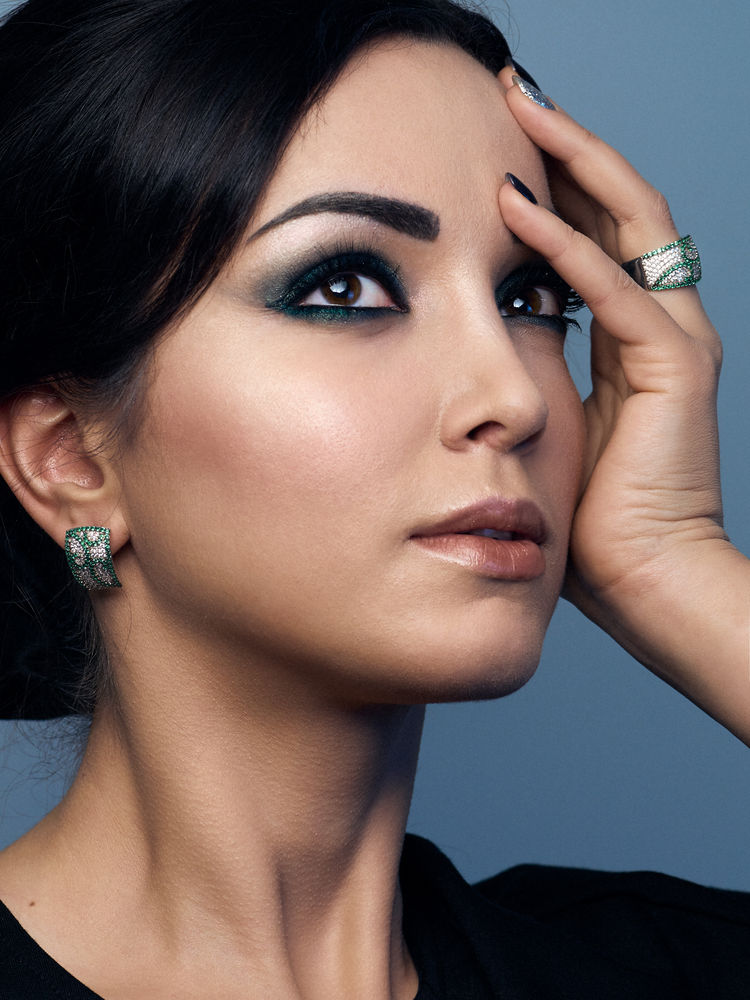
There are also occasions where you want a color picture, but you want to use a gel to give a particular mood. In the example below I used a blue gel in a 90x120cm softbox as my fill light. This tinted the shadows quite noticeably as well as the background. This would be difficult to obtain in postprocessing, because tinting shadows would have tinted the hairs as well and left the background alone.
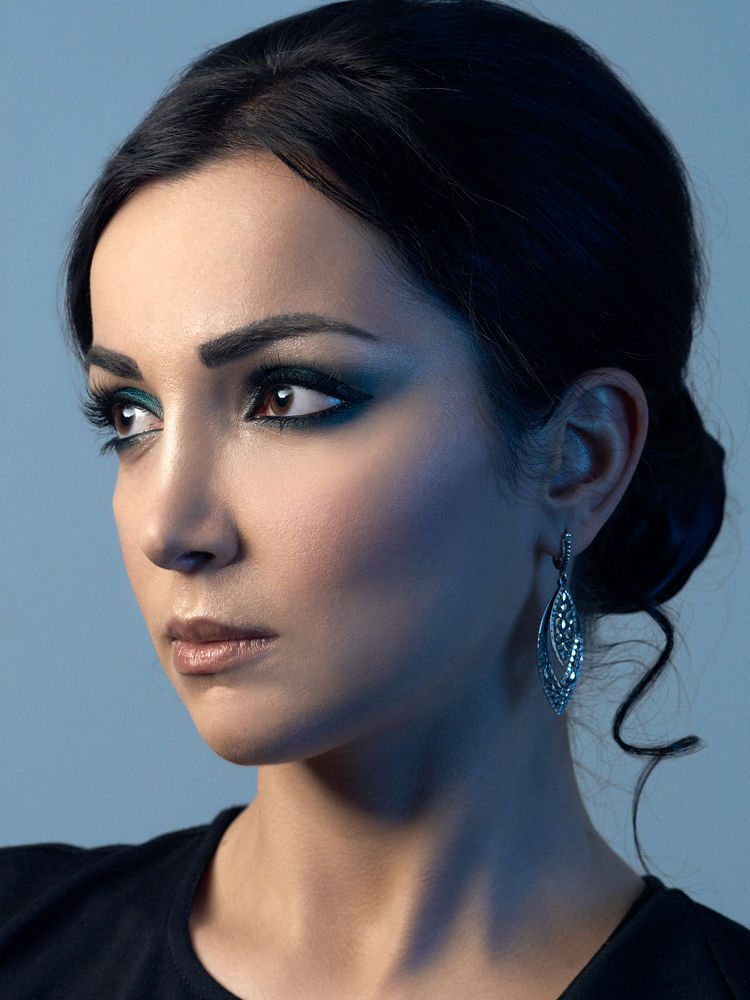
Changing a bit the light position you can also tint the background quite effectively without affecting the shadows as noticeably, as you can see in the example below. This is because the tinted shadows are behind what the camera sees, you can also see a little bit of tint on the right side of the neck.
Note that the background here is simply the light-grey painted wall of my studio. Grey backgrounds are best when you want to tint them with gels, since you can decide both the tint by choosing the color of the gel and the saturation by controlling the intensity of the light. The darker, the higher the saturation and vice-versa.